Custom Search
Showing posts with label DIY. Show all posts

Wednesday, March 30, 2011

The best way to dye your clothes

I love, majorly love, the Banana Republic "Ryan" style pants. They fit me perfectly! Sadly for me, BR discontinued the cut, and I'm stuck with thrift store finds. I also regularly hunt them down on Ebay, buying every pair I find.*
This shopping technique means I don't always get to pick my color, so I ended up with two pairs of straight leg Audry-type khakis.

I dyed one black...and here is how.
You need:
1. A large stainless steel pot - at least a large pasta pot, maybe larger.
2. A stainless steel spoon
3. iDye. It comes in natural and synthetic fiber. If your clothes are blends, you need one of each packet. I bought mine at a local art supply store for $2.00 a packet. Now here's the weird part. You have to consider the color of the clothes, too. I used navy dye and my pants came out black. Mostly. Basically. I mean, it's a shade of black.
4. Newspaper
5. Rubber gloves
This is why you need the gloves. 
 Here's what you do:
Put newspaper on the floor around your kitchen stove and any nearby counters. Put on gloves.
Put your clothes in pot and cover with water; clothes should move freely. Add dye packets. This type of dye has a dissolving packet, so use dry hands and toss it in: mess free. Yay. If you are using the poly dye, add the enclosed intensifier, too. Add half a cup of salt and stir. Bring to a boil. Boil for an hour, stirring clothes around with a long spoon every few minutes. BE CAREFUL. This solution has a tendency to form super heated pockets that will spit hot dye at you!
The splatters on the stove clean off easily with soap and water

Boil for at least an hour.
Allow to cool.
Wash garment by itself in cold water and dry twice before wearing. Then be careful when you wash it - the first few times it will bleed and should be washed alone!
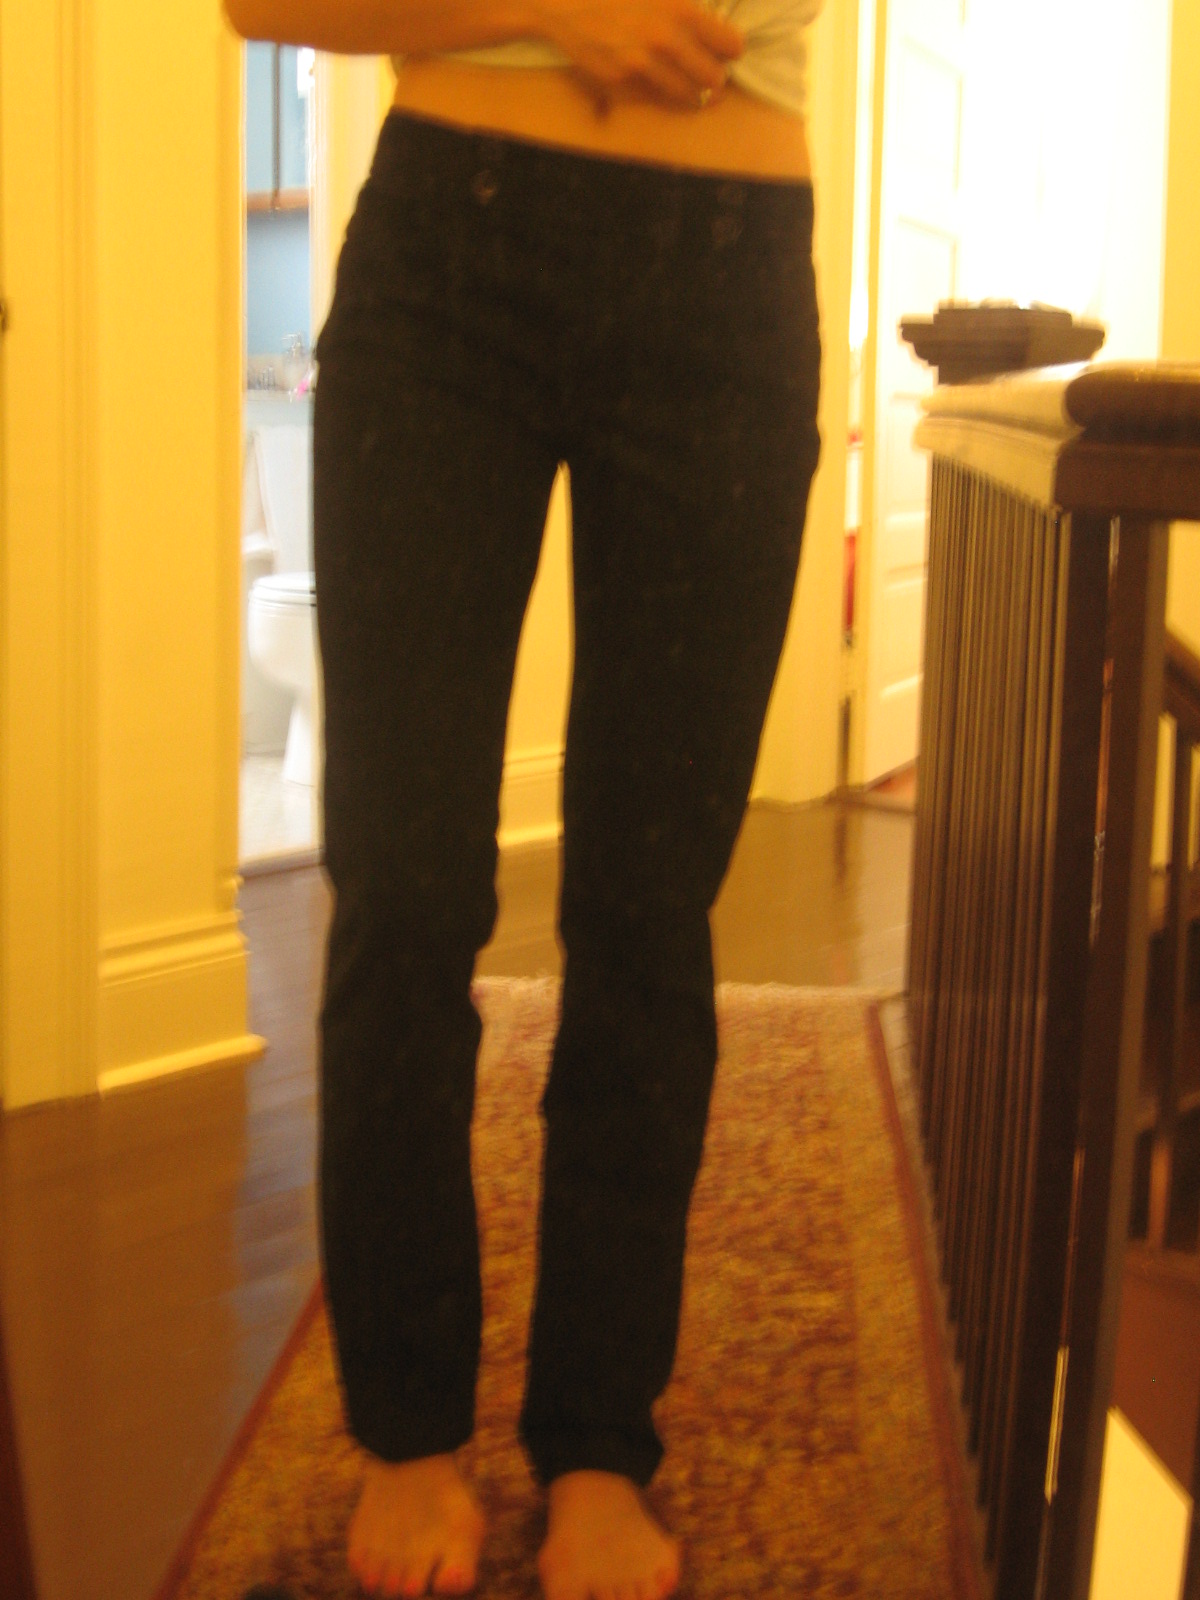
Here's the results: notice that the formerly white pockets are vibrant blue but the pants themselves are black!

Or are they? The fabric on the left are another pair of actually black pants. On the right are my new pants  - slightly different shade.
And both pairs need to be washed.

Still awesome. I love them to death.
Have you ever dyed your clothes?
* P.S. Size two, regular or long (I'll hem them!), if you ever see any snap them up for me and I will love you forever.

Wednesday, October 20, 2010

Got a pair of outlet slacks?


I did! I bought these Ann Taylor pants last year for $7. But they look like shapeless bags. When I put them on I felt like a 55 year old on the way to a chiropractor appointment. Enter home-solution for frumpy pants!
You can easily alter pants to a slim-fitting Audrey Hepburn style if:
- Your pants are cotton or cotton blend (rather stiff fabric is required as slim cut stretchy material = leggings)
- Your pants are a little too short OR you can quickly hem them (ie, turn them up and stitch down). Or you can wear a skinny longer leg. I prefer the just-below-the-ankle look, but then all my pants are always too short anyway so this works well for me.
- You have a needle and thread or a sewing machine.
- You own another pair of pants or jeans that are slim cut to use as a pattern OR you have a pal to help you size them to fit you.
This is simple.
1. Lay the pants down, inside out.
2. Lay your "pattern" pants on top, matching the crotches and inside seams.
*if you don't have pattern pants, lay on top of the pants and have a friend pin around your outline*
3. Pin around the pattern pants so you will know what to trim off. You should only be pinning on the outside leg seam - that way you'll only have to sew one seam on each pant leg. *If you're pinning around your own legs as a pattern, again, only pin on the outside seam. Leave room as you pin to allow for the curve of your leg*
Try pants on inside-out after you pin and before you sew to make sure you like the fit.
4. Sew along your line of pins with a sewing machine or a needle and thread using plain old straight stitch. Your outer leg seam does not get a lot of wear and tear, so this doesn't have to be the world's best seamstressing.
5. Trim off excess fabric. Turn right side out and try on pants. If they are too long, you can hem them up at this point.
Before: Blah.

After: Much better! Boy, is it hard to take a mirror picture and not get the camera in it!

Monday, July 26, 2010

And finally, do-it-yourself distressed furniture

I promised to show you how to cute-up your made-in-Cambodia-some-assembly-required furniture, and here it is.
I had to furnish my bedroom with furniture that ships flat because I have a tricky spiral staircase. It's really just a half-spiral, but it's challenging to get furniture up there without taking out the banister. Usually anything I decide to take upstairs is probably going to stay upstairs, or come down in several pieces.
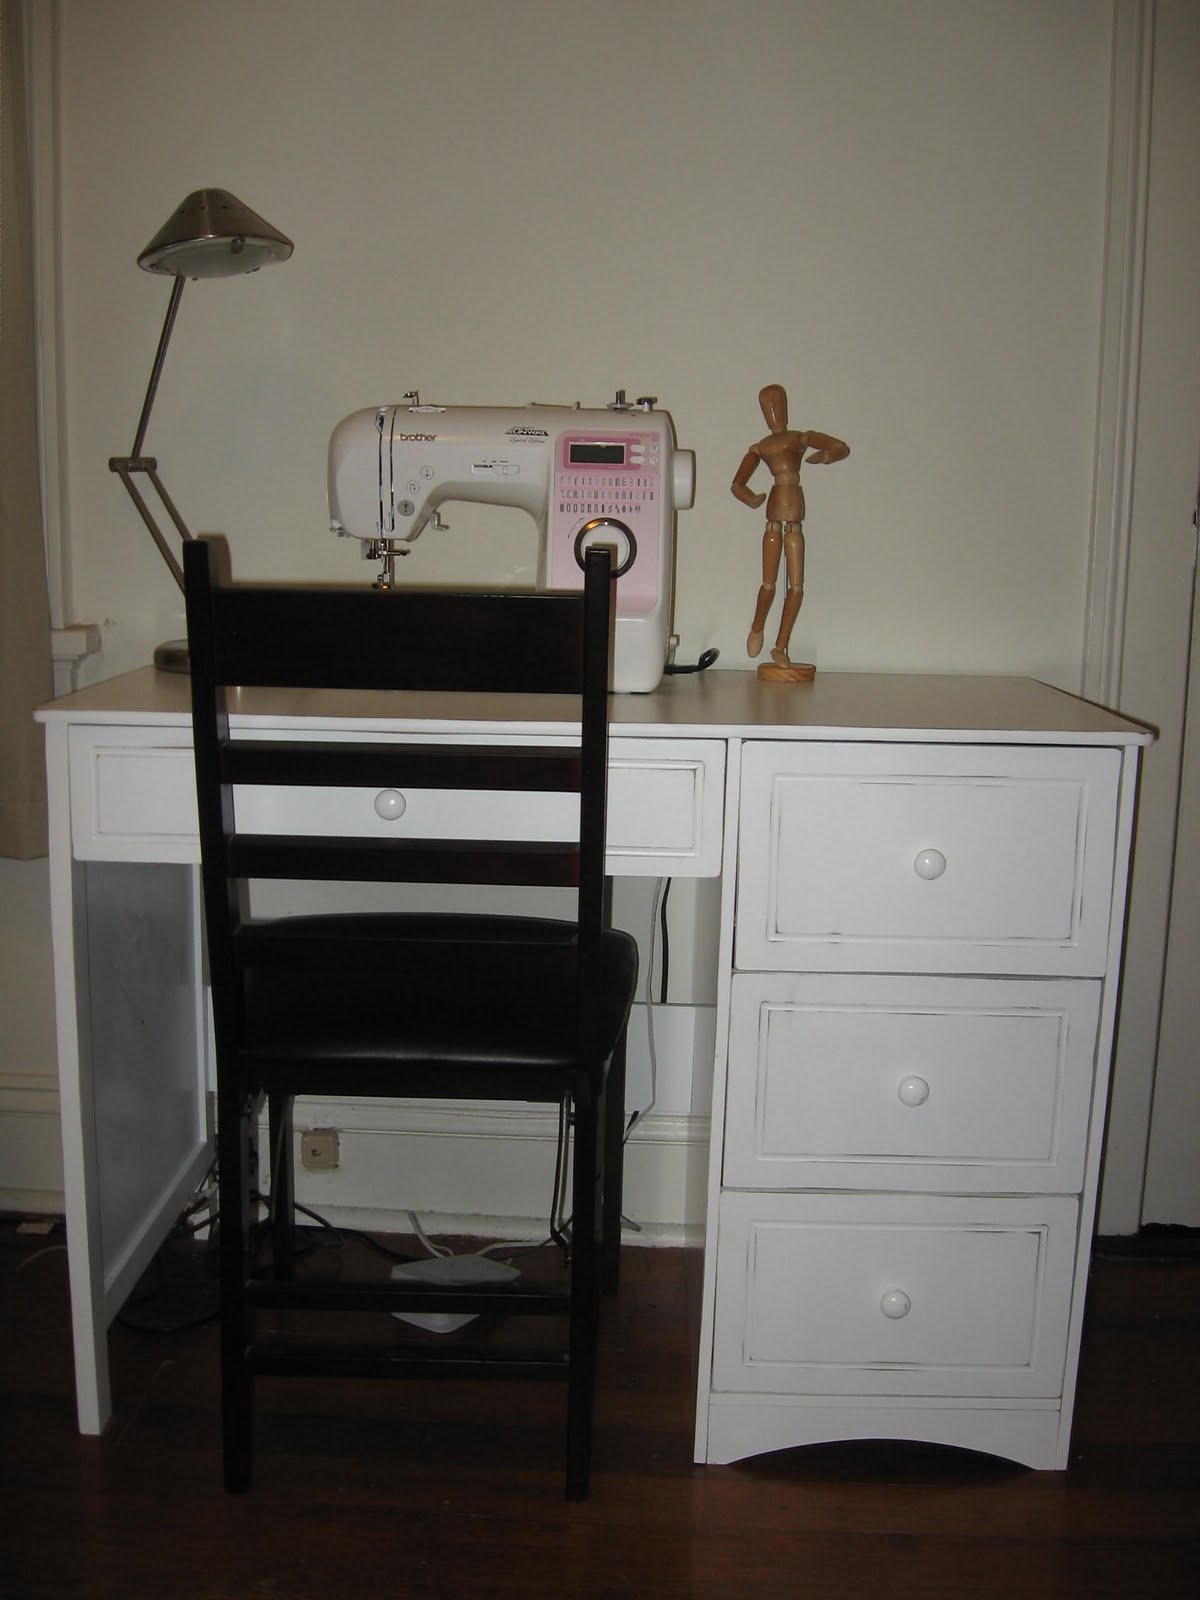
When I graduated from pharmacy school, my adorable hubby bought me a sewing machine. Prior to this machine, I'd always used a table machine - the kind that comes installed in a wooden table. I couldn't reuse the table I already had because the new machine didn't fit into the old table's screw-on design. I ended up buying this small desk from Target since it nicely fit the available space (my bedroom has two windows, a door, a closet, and a fireplace, leaving very minimal wall space).
I put the desk together and stood back to admire my handiwork - and realized that the desk turned my hither-to cozy bedroom into a decrepit dorm room. Something must be done!

This easy "antiquing" simply keeps furniture from looking too new or plastic.
You need rough sandpaper and elbow grease - that's all. Simply sand the edges off without extending too far onto the flat surfaces. The particle board that shows through looks kind of like wood, right?

Tips for success:
- Use rough sandpaper
- Spend extra time rounded off the corners. They should get the most wear.
- Be a little sporadic in your sanding: Don't sand off every single edge and vary the amount you sand down as you go.
- Don't forget the knobs - or replace the knobs with something cuter. Replacement knobs go cheap on Ebay.
- This works on white furniture. If you use it on black fake furniture then the sanded areas will be lighter, which looks odd.
- Of you are worried about longevity of the furniture, you can swipe varnish over the sanded areas to keep moisture out. Or you can figure the piece won't last too long anyway and just shrug.

This look is not supposed to be country or shabby-chic, it's just a fast way to un-plastic your bedroom.
What's your best DIY furniture trick?

Thursday, June 17, 2010

Making stationary - a DIY

I make my own stationary - always have. I love paper crafts! It's an addiction to scissors and scraps! I even made my own wedding invitations, programs, and thank you notes (and I did the calligraphy on the envelopes - real calligraphy with a real calligraphy pen, ie I mixed my own ink. Hard core stuff, but look how adorable! Actually this is a bad example, but that's because it's my in-laws invitation. I practiced on family, haha!)

Today I'm going to show you how to make some cute, easy stationary that serves equally well as a thank you note, birthday card, invitation, or just a note. You will need colored cards for decorating. Mine are from Michael's. There are plenty of similar products to choose from; I like these because they came in a variety pack of colors. You also need some kind of thick plastic. I used a bronze plastic boutique bag, but last time I used an Anne Taylor bag- stiffish frosted clear plastic. It was precious. You also need a needle and thread; I used a big embroidery needle and brown upholstery thread. The only reason I used thick upholstery thread is because I purchased it accidentally once and I have this entire spool to use up.

Also you need coffee. Always.
First, you cut butterfly shapes out of the plastic. They're about an inch and a half tall. I cut them out by folding the plastic in half first and cutting a half silhouette to keep them symmetrical.
Next, you actually sew the butterfly onto the card. This is super easy to do.
1. Hold the butterfly in place and insert the needle at the "head"; pull it through to the back so that you leave a little piece sticking out to be an antennae.

2. Stick the needle back through the butterfly's "butt" OUCH.

3. Stick the needle through the butterfly's "neck" to form the body, as shown. Repeat steps 2 and 3 to make a thicker body.

4. If you want, you can do a quick stitch in the center of the body to make it segmented like a real insect body. Push the needle up in the center of the body, loop around the body, then go back down through the same hole you entered.

5. Push the needle back up at the head.

6. Tie the two ends in a double knot at the head and trim to make antenna.

How cute.

You can make lots of them. Even after mailing the butterflies keep some motion. I made a flower, too, using triple layers of petals.